Those dark streaks running down your roof are algae, not dirt, and they won't wash away with just rain.
As your trusted roofing resource in Chattanooga, we'll walk you through what causes roof stains, which cleaning solutions actually work, and how to clean your shingles safely-whether you tackle it yourself or work with one of our vetted local pros.
What Causes Black Streaks and stains on roof shingles
Those dark streaks running down your roof are almost always algae.
Algae thrives in humid conditions and shows up first on north-facing slopes or shaded sections where moisture lingers. If your neighbor's roof has dark streaks, yours might develop them too since algae spores travel through the air.
But algae isn't the only thing that grows on roofs. Here's how to tell what you're looking at:
Algae: Dark black or greenish-black streaks, usually in vertical lines following water runoff patterns
Moss: Thick, fuzzy green patches that look like carpet and feel spongy to the touch
Lichen: Crusty, light-colored spots that are flat and hard to scrape off
Mold or mildew: Irregular dark spots, often in corners or areas with poor airflow
Identifying what's on your roof helps you pick the right cleaning approach. Algae washes off fairly easily.
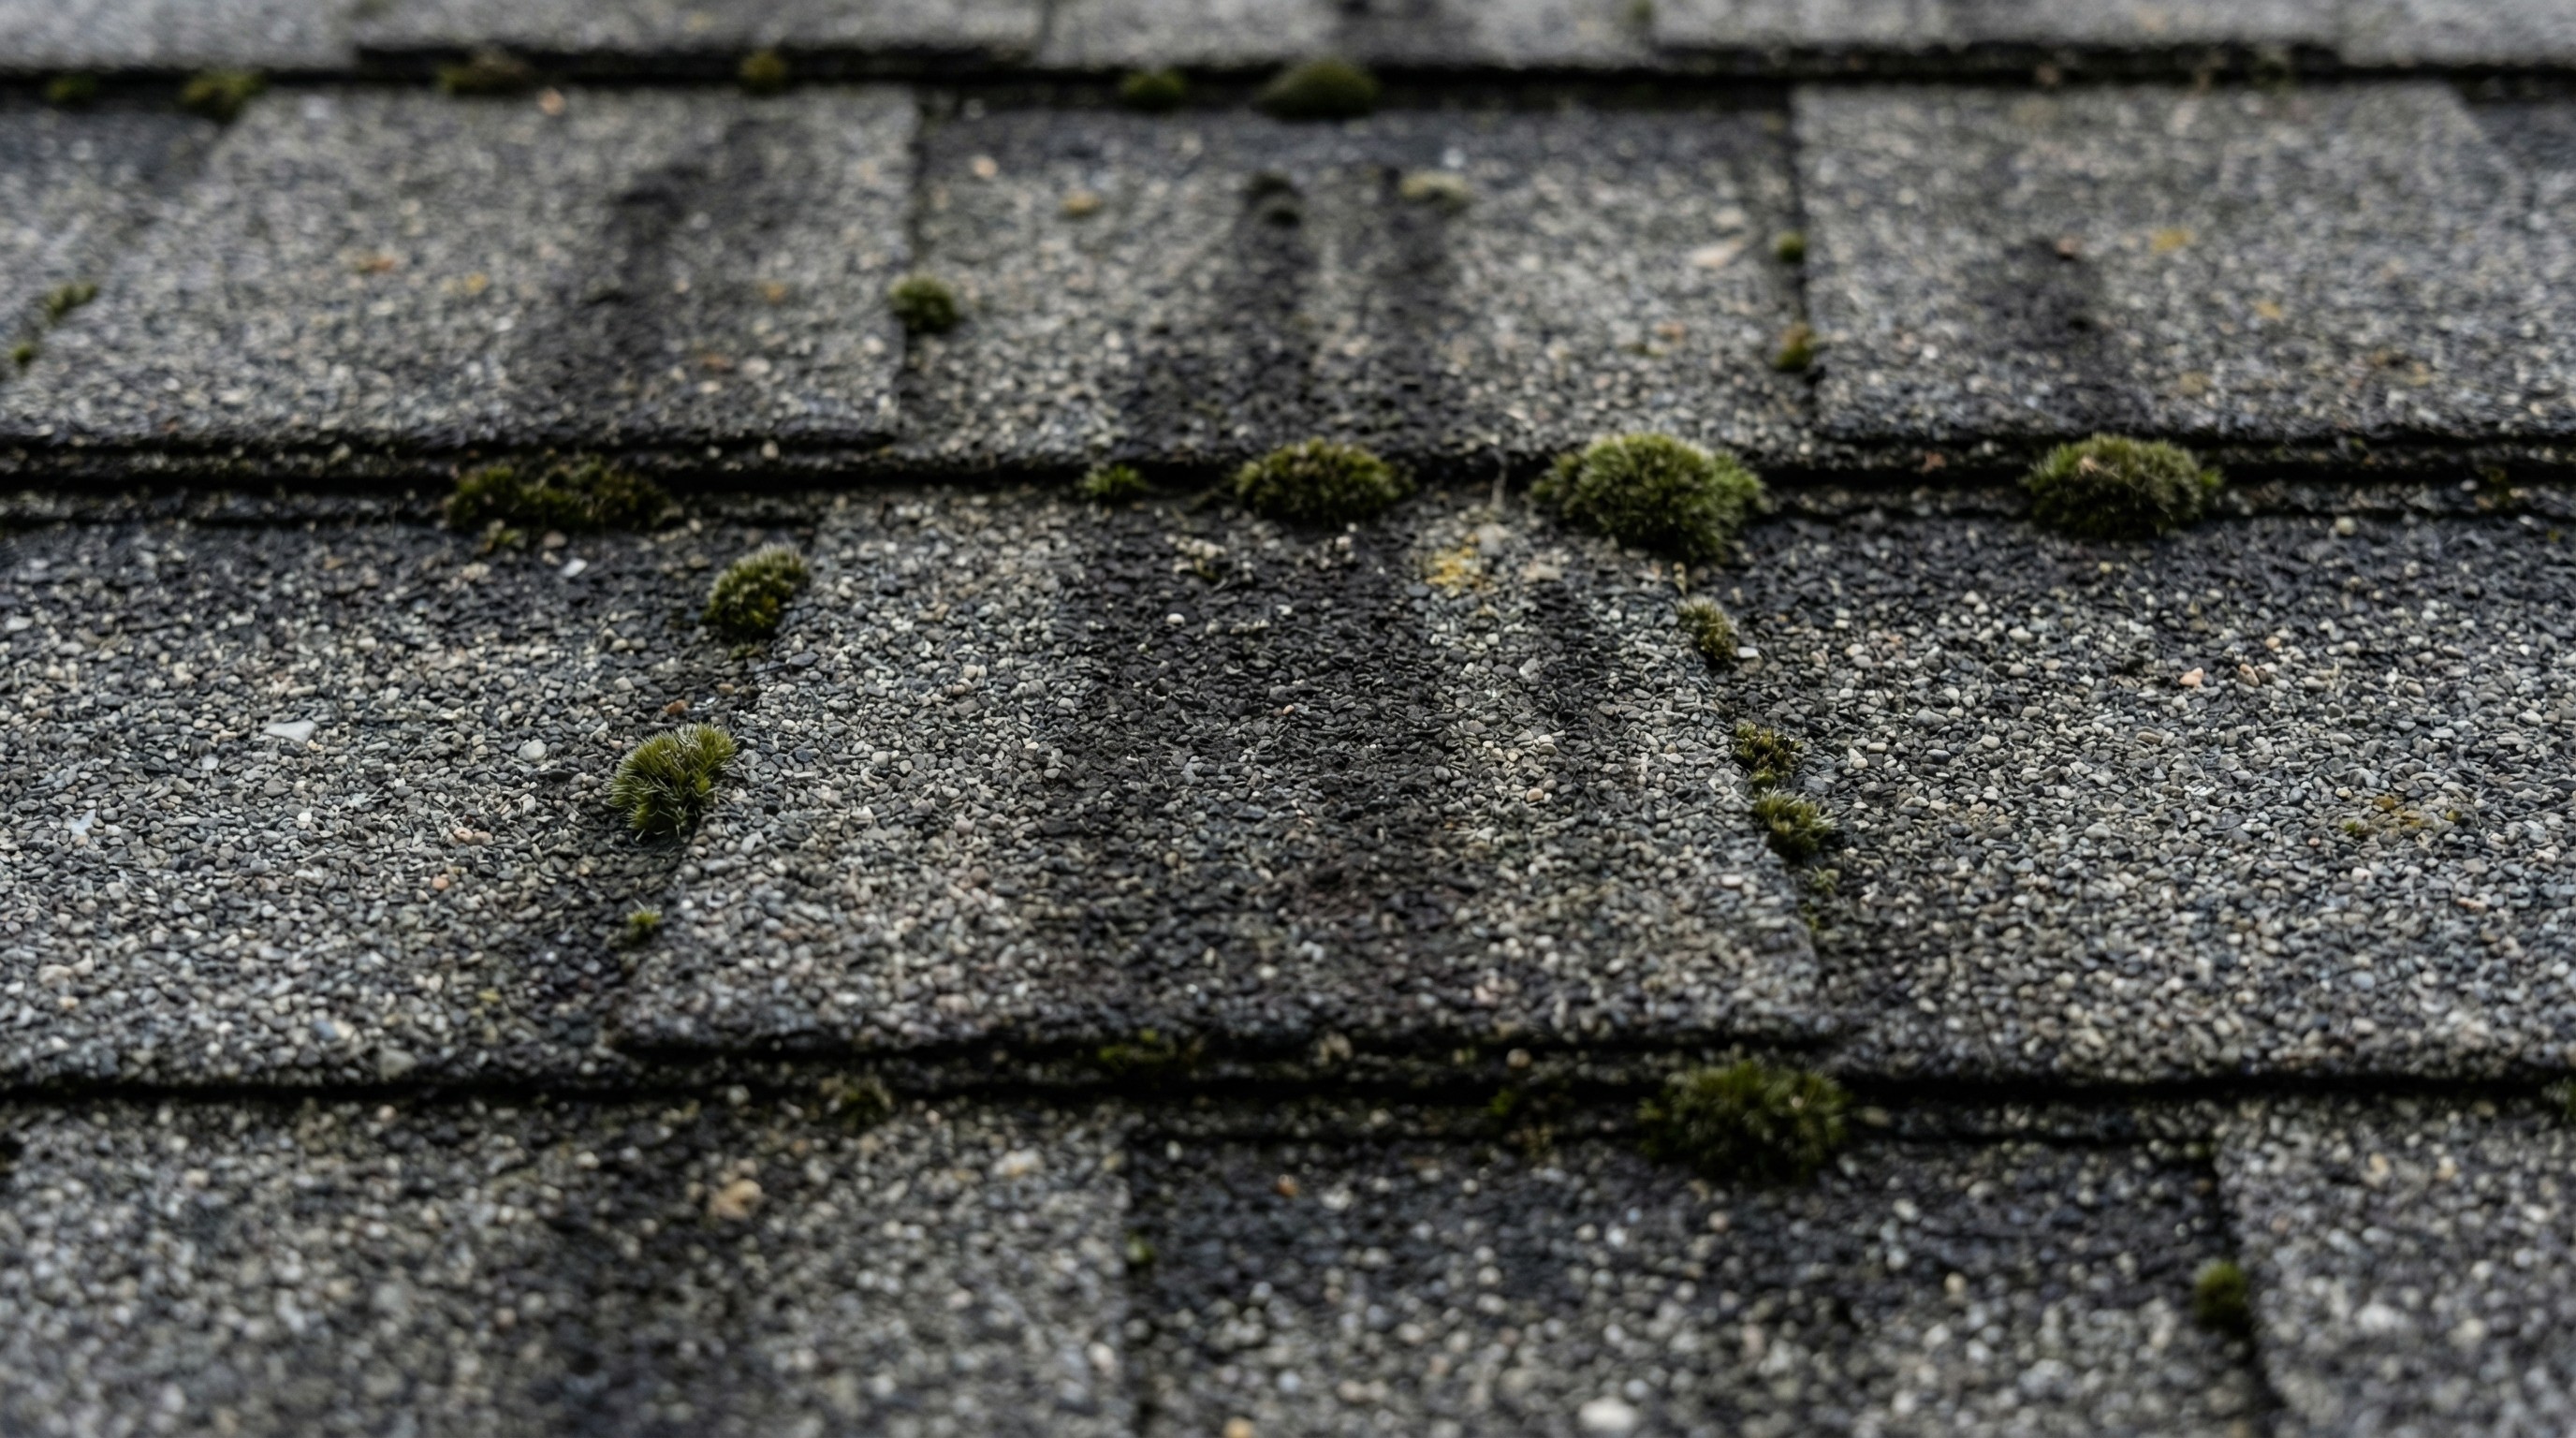
Moss takes more effort because it has root-like structures that grip the shingles.
Why Cleaning Your Asphalt Shingles Matters
Algae won't destroy your roof overnight, but moss and lichen can cause real problems over time. Moss holds moisture against the shingle surface, and that constant dampness accelerates wear. In colder climates, trapped moisture freezes and expands, which can lift shingle edges and create entry points for water.
If you're planning to sell your home, a clean roof can actually work in your favor. Buyers and inspectors often view a well-maintained roof as a sign that the property has been cared for, while visible staining might prompt questions about overall maintenance.
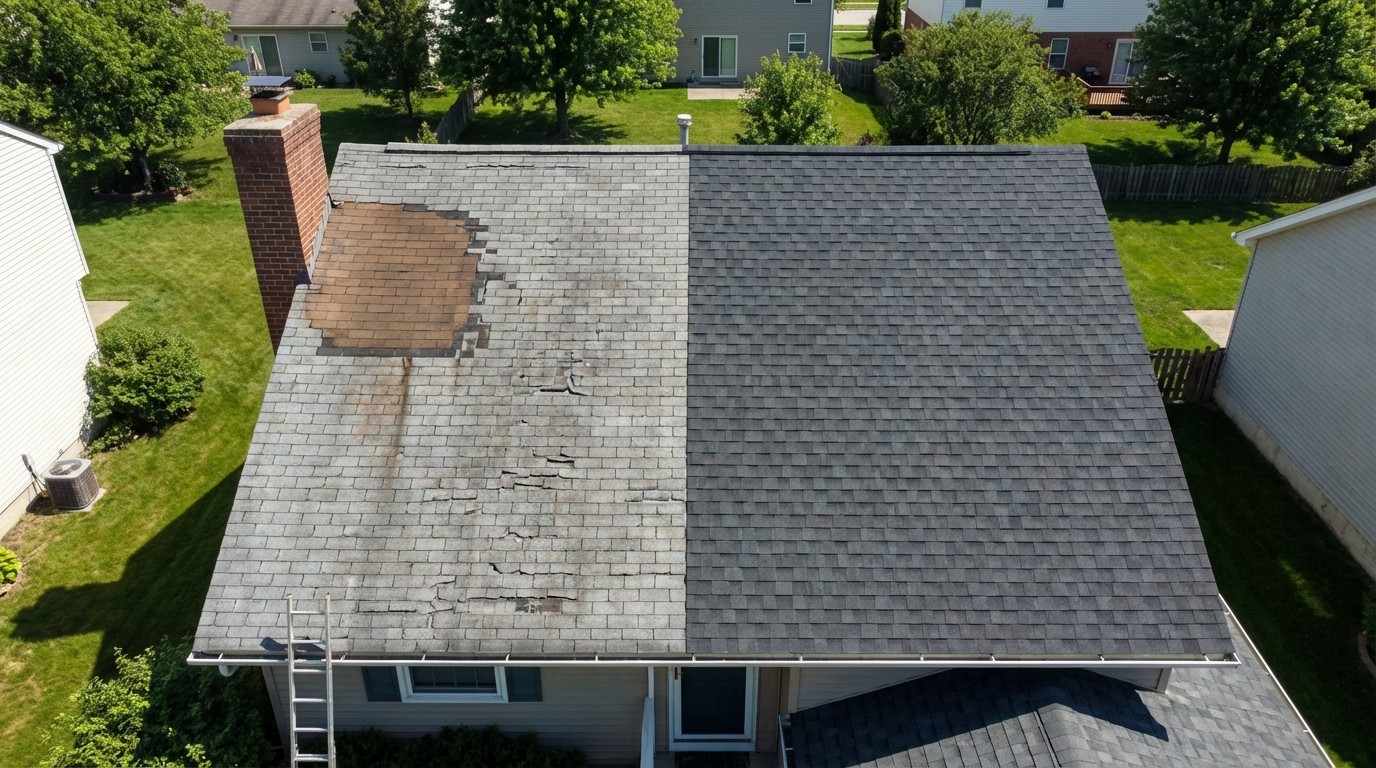
Signs Your Shingle Roof Needs Cleaning
Dark Streaks or Discoloration
The most obvious sign is dark streaking, especially on one side of the roof. Algae stains typically start small and spread downward over time. You might notice them first near the ridge or in areas shaded by trees. If the streaks have been there for years, they'll be darker and more widespread.
Visible Moss or Lichen Growth
Moss looks like green velvet patches, usually in shaded areas or on the north side of the roof. Lichen appears as flat, crusty spots in gray, green, or yellowish tones. Both indicate your roof is staying damp longer than it ideally would. Moss in particular can work its way under shingle edges, so addressing it sooner rather than later makes sense.
Debris Buildup in Roof Valleys
Leaves, pine needles, and small branches collect in roof valleys and along edges. This debris traps moisture and creates a perfect environment for algae and moss to take hold. If you see piles of organic material sitting on your roof, that's often where growth starts.
Best Cleaning Solutions for Asphalt Roof Shingles
The most effective cleaner for asphalt shingles is a diluted bleach and water mixture. This kills algae, mold, and mildew on contact without damaging the shingles when mixed properly. Most professional roof cleaners use some variation of this formula.
Solution Type | Best For | Things to Know |
|---|---|---|
Diluted bleach and water | Algae, mold, mildew | Very effective; will harm plants if not rinsed |
Oxygen bleach | Lighter stains, eco-conscious homeowners | Gentler but slower acting |
Commercial roof cleaners | Heavy staining | Check labels for asphalt shingle compatibility |
Diluted Bleach and Water
The standard ratio is one part household bleach to three or four parts water. Some people add a tablespoon of dish soap per gallon, which helps the solution cling to the shingles instead of running off immediately. This is the same basic approach that soft wash professionals use, just scaled for DIY application.
A word of caution: bleach will damage or kill plants, grass, and shrubs. Protecting your landscaping before you start is essential, not optional.
Oxygen Bleach Alternatives
Oxygen bleach products, sometimes sold as "oxy" cleaners, offer a gentler option. They break down into oxygen and water, so they're safer for plants and won't release chlorine fumes. The tradeoff is that oxygen bleach works more slowly and may require a second application for stubborn stains.
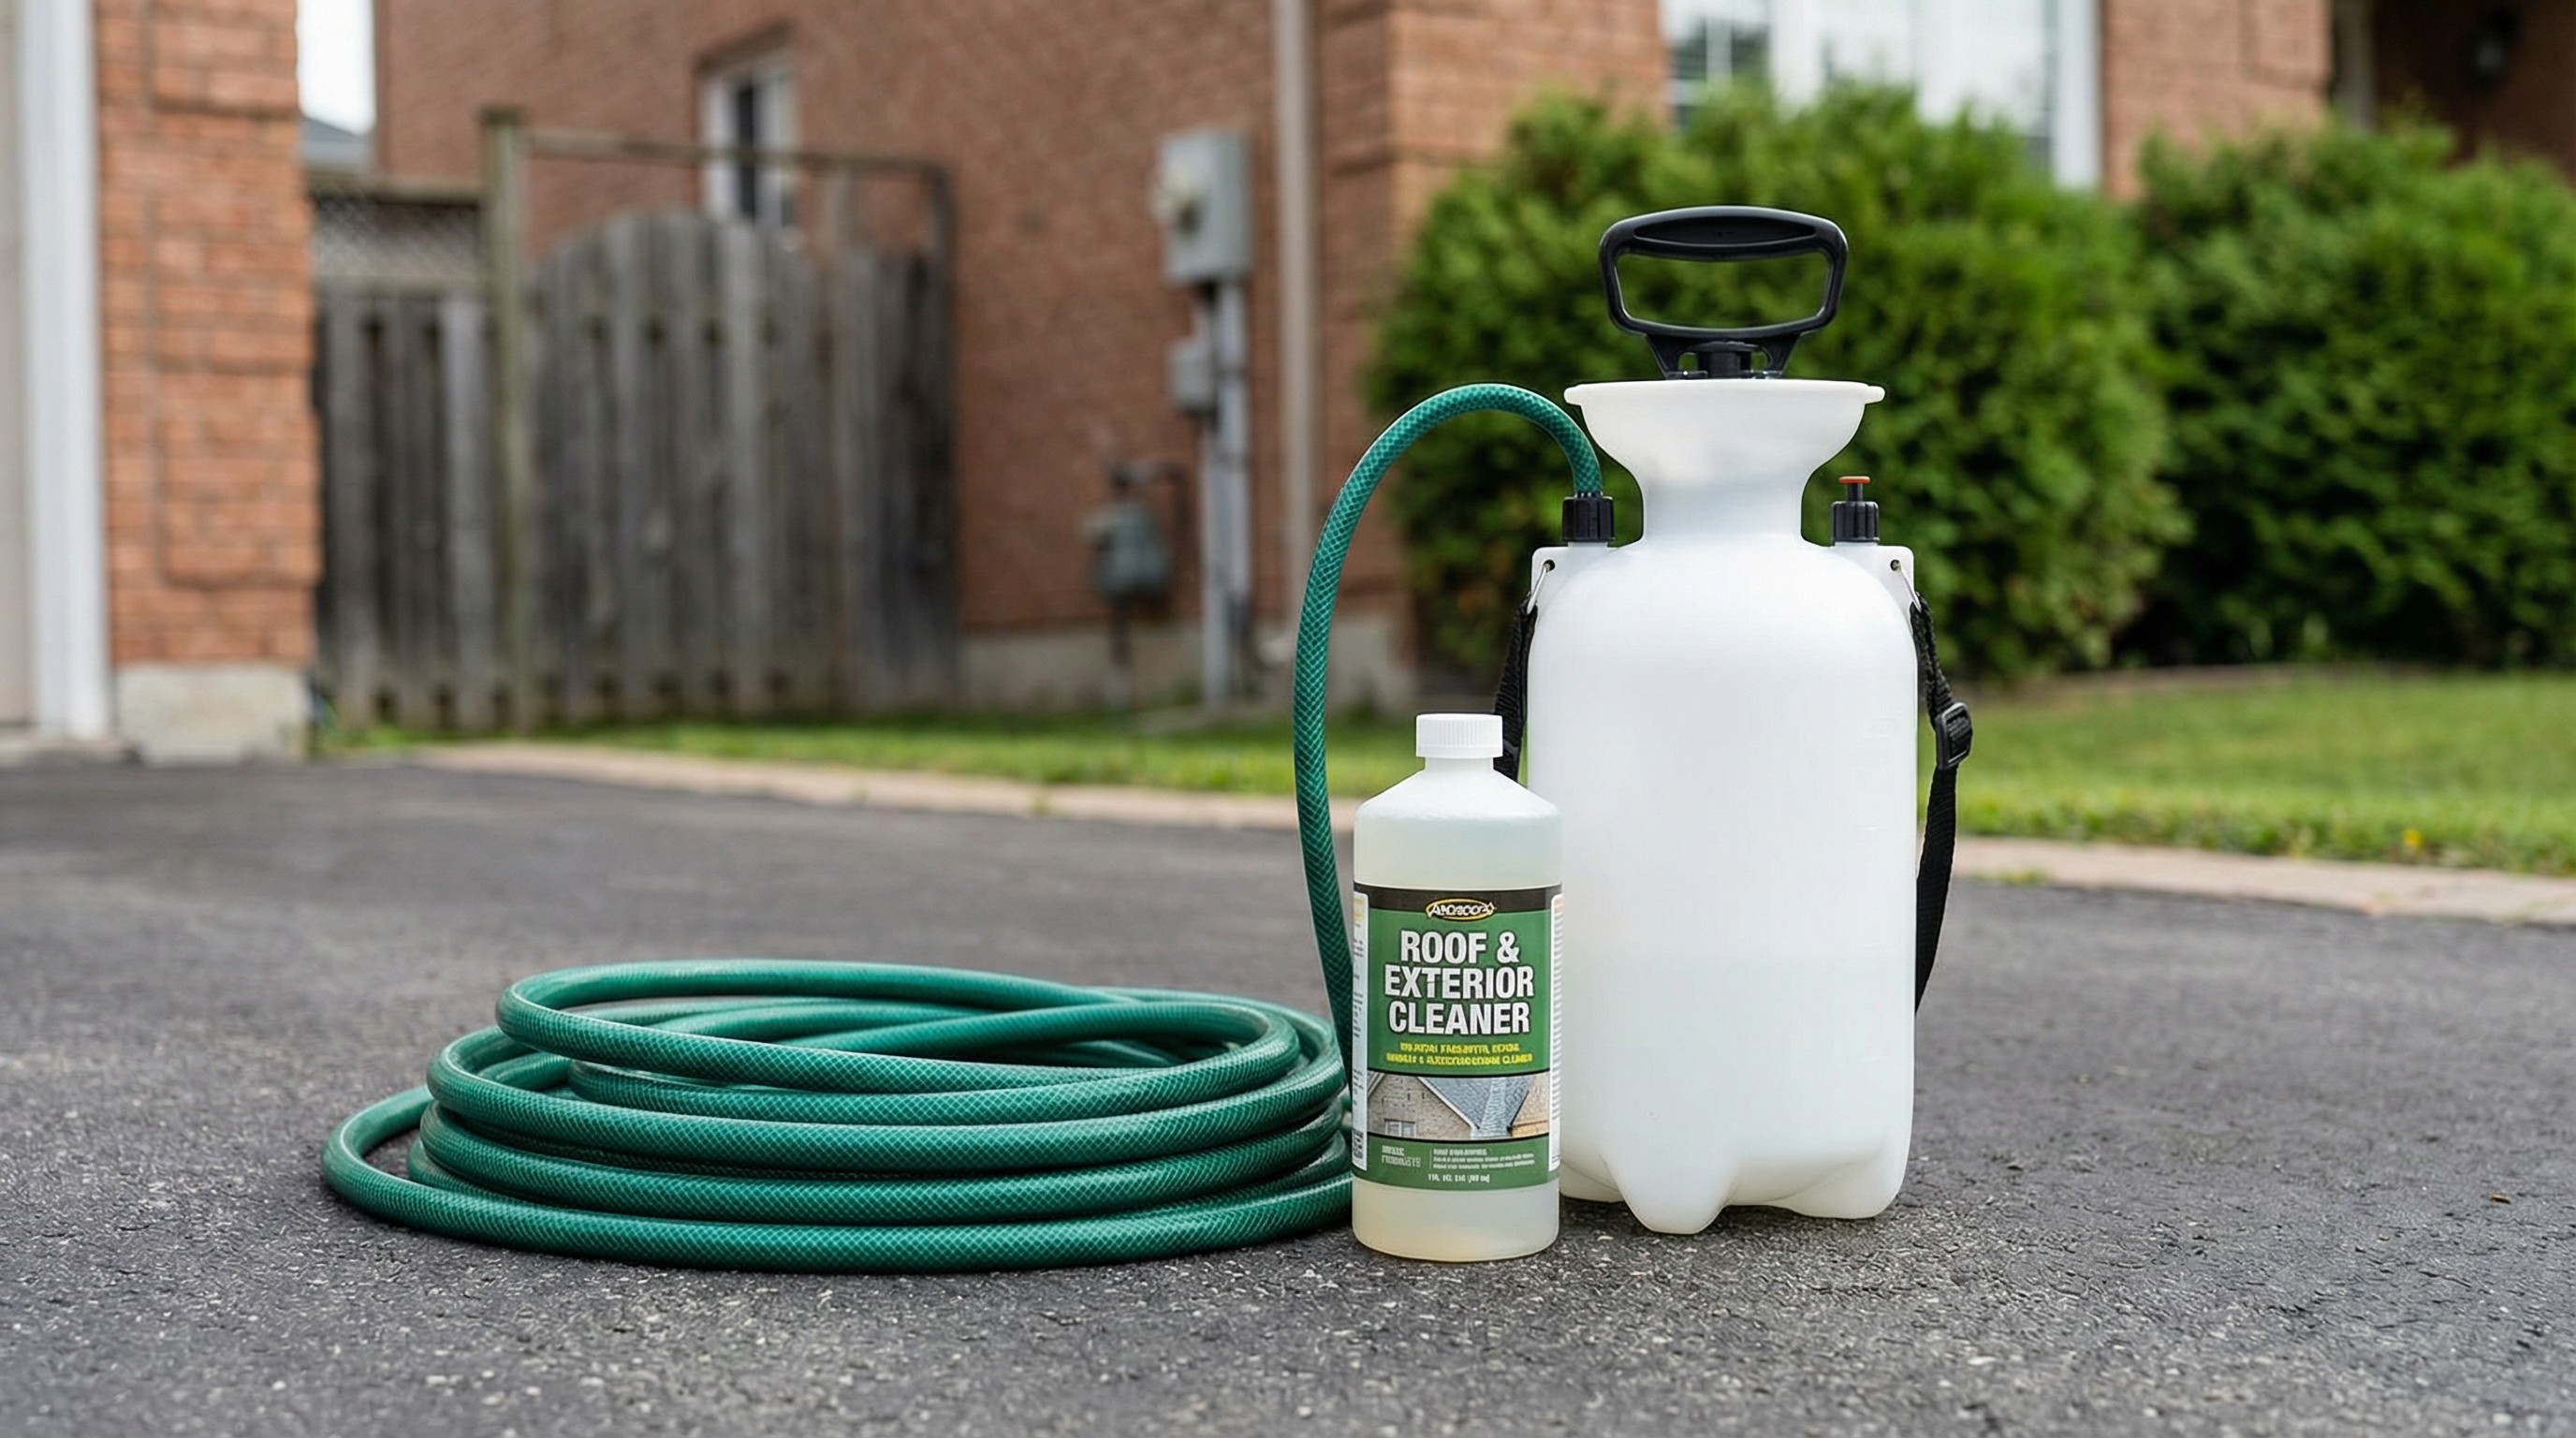
Commercial Roof Shingle Cleaners
Hardware stores carry cleaners specifically marketed for roof cleaning. Some work well, others contain harsh chemicals that can void your shingle warranty. Before buying, check the label to confirm the product is safe for asphalt roofing. When in doubt, the diluted bleach method is proven and inexpensive.
How to Clean Asphalt Roof Shingles Step by Step
Step 1. Wait for Mild Cloudy Weather
Timing matters more than you might expect. The ideal conditions are an overcast day with temperatures between 50 degrees F and 75 degrees F and little to no wind. Direct sunlight causes the cleaning solution to evaporate before it has time to work, which means you'll use more product and get worse results. Wind makes ladder work dangerous and can blow the spray where you don't want it.
Step 2. Protect Plants and Cover Gutters
Before mixing any cleaning solution, soak all plants, shrubs, and grass around your home's foundation with plain water. Wet foliage absorbs less bleach solution than dry foliage. For extra protection, cover plants with plastic tarps or drop cloths.
Some homeowners also cover their gutters to prevent the cleaning solution from pooling there. This step is optional but can reduce the amount of bleach that eventually drains into your yard.
Step 3. Mix Your Cleaning Solution Properly
Never apply undiluted bleach to your roof. The correct ratio is one part bleach to three or four parts water. Mix the solution in a pump sprayer or use a hose-end sprayer attachment designed for applying cleaning solutions.
If you're adding dish soap, a tablespoon per gallon is plenty. More soap doesn't mean better cleaning. It just creates more suds that are harder to rinse.
Step 4. Apply With a Low Pressure Garden Sprayer
Start at the top of the roof near the ridge and work your way down, spraying the solution evenly across stained areas.
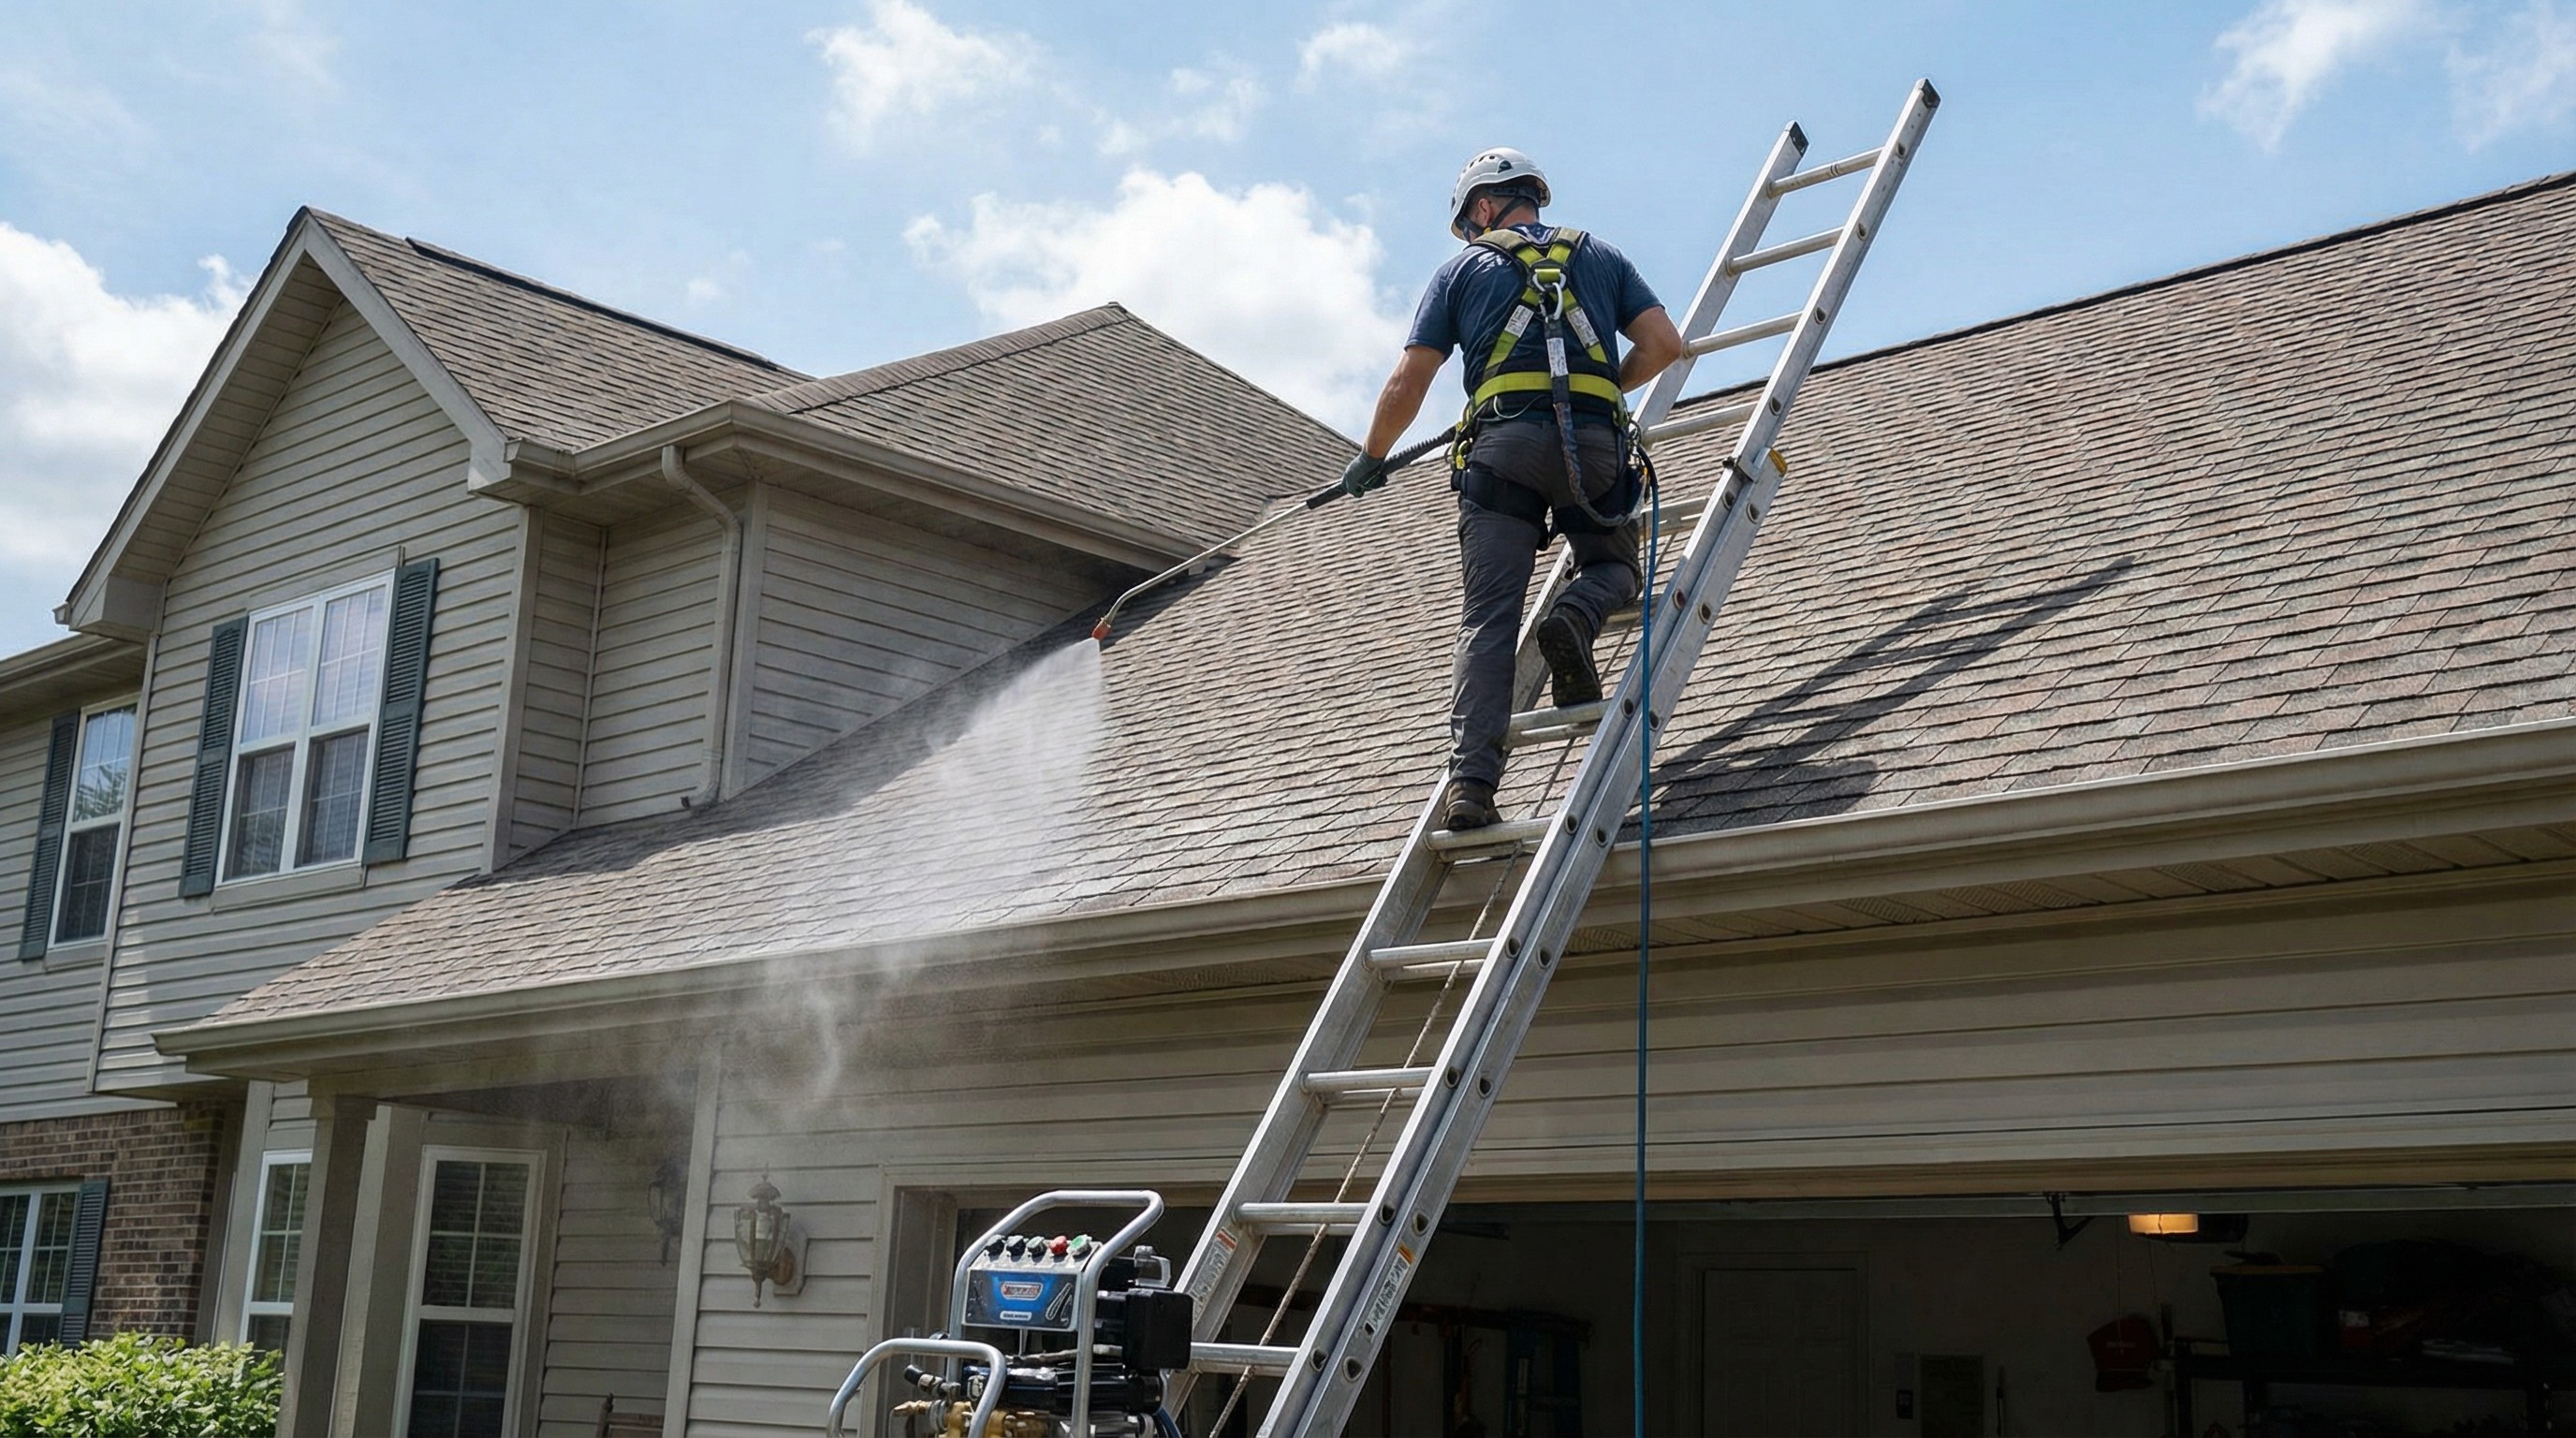
The key word here is low pressure. A regular garden pump sprayer or hose-end attachment provides enough force to apply the solution without damaging shingles.
Do not scrub the roof surface. The granules on asphalt shingles protect them from UV damage, and scrubbing removes those granules. Let the cleaning solution do the work.
Step 5. Let It Sit and Rinse Gently
After applying the solution, let it sit for 15 to 20 minutes. You'll often see the stains start to lighten during this time. Then rinse the entire treated area with a regular garden hose, working from the ridge down toward the gutters.
For stubborn stains, you can repeat the process. Just make sure to rinse your plants again after you finish to wash away any solution that reached them during application.
Roof Cleaning Mistakes That Damage Asphalt Shingles
Pressure Washing at High PSI
This is the most common and most damaging mistake. Pressure washers deliver far too much force for asphalt shingles. The high-pressure stream strips away protective granules, can crack or loosen shingles, and may drive water underneath the roofing material. Even at lower pressure settings, the risk of damage is high.
If a contractor suggests pressure washing your asphalt roof, that's a red flag. It tells us they may not fully understand how asphalt roofing works, and you'll want to look for someone with more appropriate expertise.
Using Undiluted Bleach on Shingles
Straight bleach is too concentrated. It can discolor shingles, damage the asphalt material, and will absolutely kill any vegetation it contacts. Always dilute to the recommended ratio of one part bleach to three or four parts water.
Scrubbing or Brushing the Roof Surface
It's tempting to grab a brush and scrub away visible moss or stains, but this approach causes more harm than good. The granules embedded in asphalt shingles are there for a reason. They reflect UV rays and protect the underlying asphalt from sun damage. Scrubbing removes granules and shortens your roof's lifespan.
Cleaning in Direct Sunlight
Hot, sunny days seem like good weather for outdoor projects, but they're actually the worst time to clean a roof. The heat causes your cleaning solution to evaporate before it can break down algae and stains. You end up using more product, working harder, and getting mediocre results.
Should You Power Wash Roof Shingles
No. Power washing and pressure washing are too aggressive for asphalt shingles. The force strips away the protective granule layer and can drive water under shingles, leading to leaks and wood rot in the decking below.
The safe alternative is soft washing. Soft washing uses low-pressure application, typically no more than what a garden hose provides, combined with a cleaning solution that does the actual work of killing algae and loosening stains. Professional roof cleaning companies use soft wash methods for exactly this reason.
If someone recommends pressure washing your asphalt shingle roof, that's a sign they don't understand how asphalt roofing works.
How to Prevent Algae and Moss on Your Roof
Install Zinc or Copper Strips Along the Ridge
Metal strips installed just below the ridge cap release trace amounts of zinc or copper particles when it rains. These particles wash down the roof and inhibit algae growth. A single installation can provide years of protection. The strips cost between $50 and $150 for most roofs and can be installed during routine maintenance or a roof replacement.
Trim Tree Branches That Shade the Roof
Shade keeps your roof damp longer after rain, which creates ideal conditions for algae and moss.
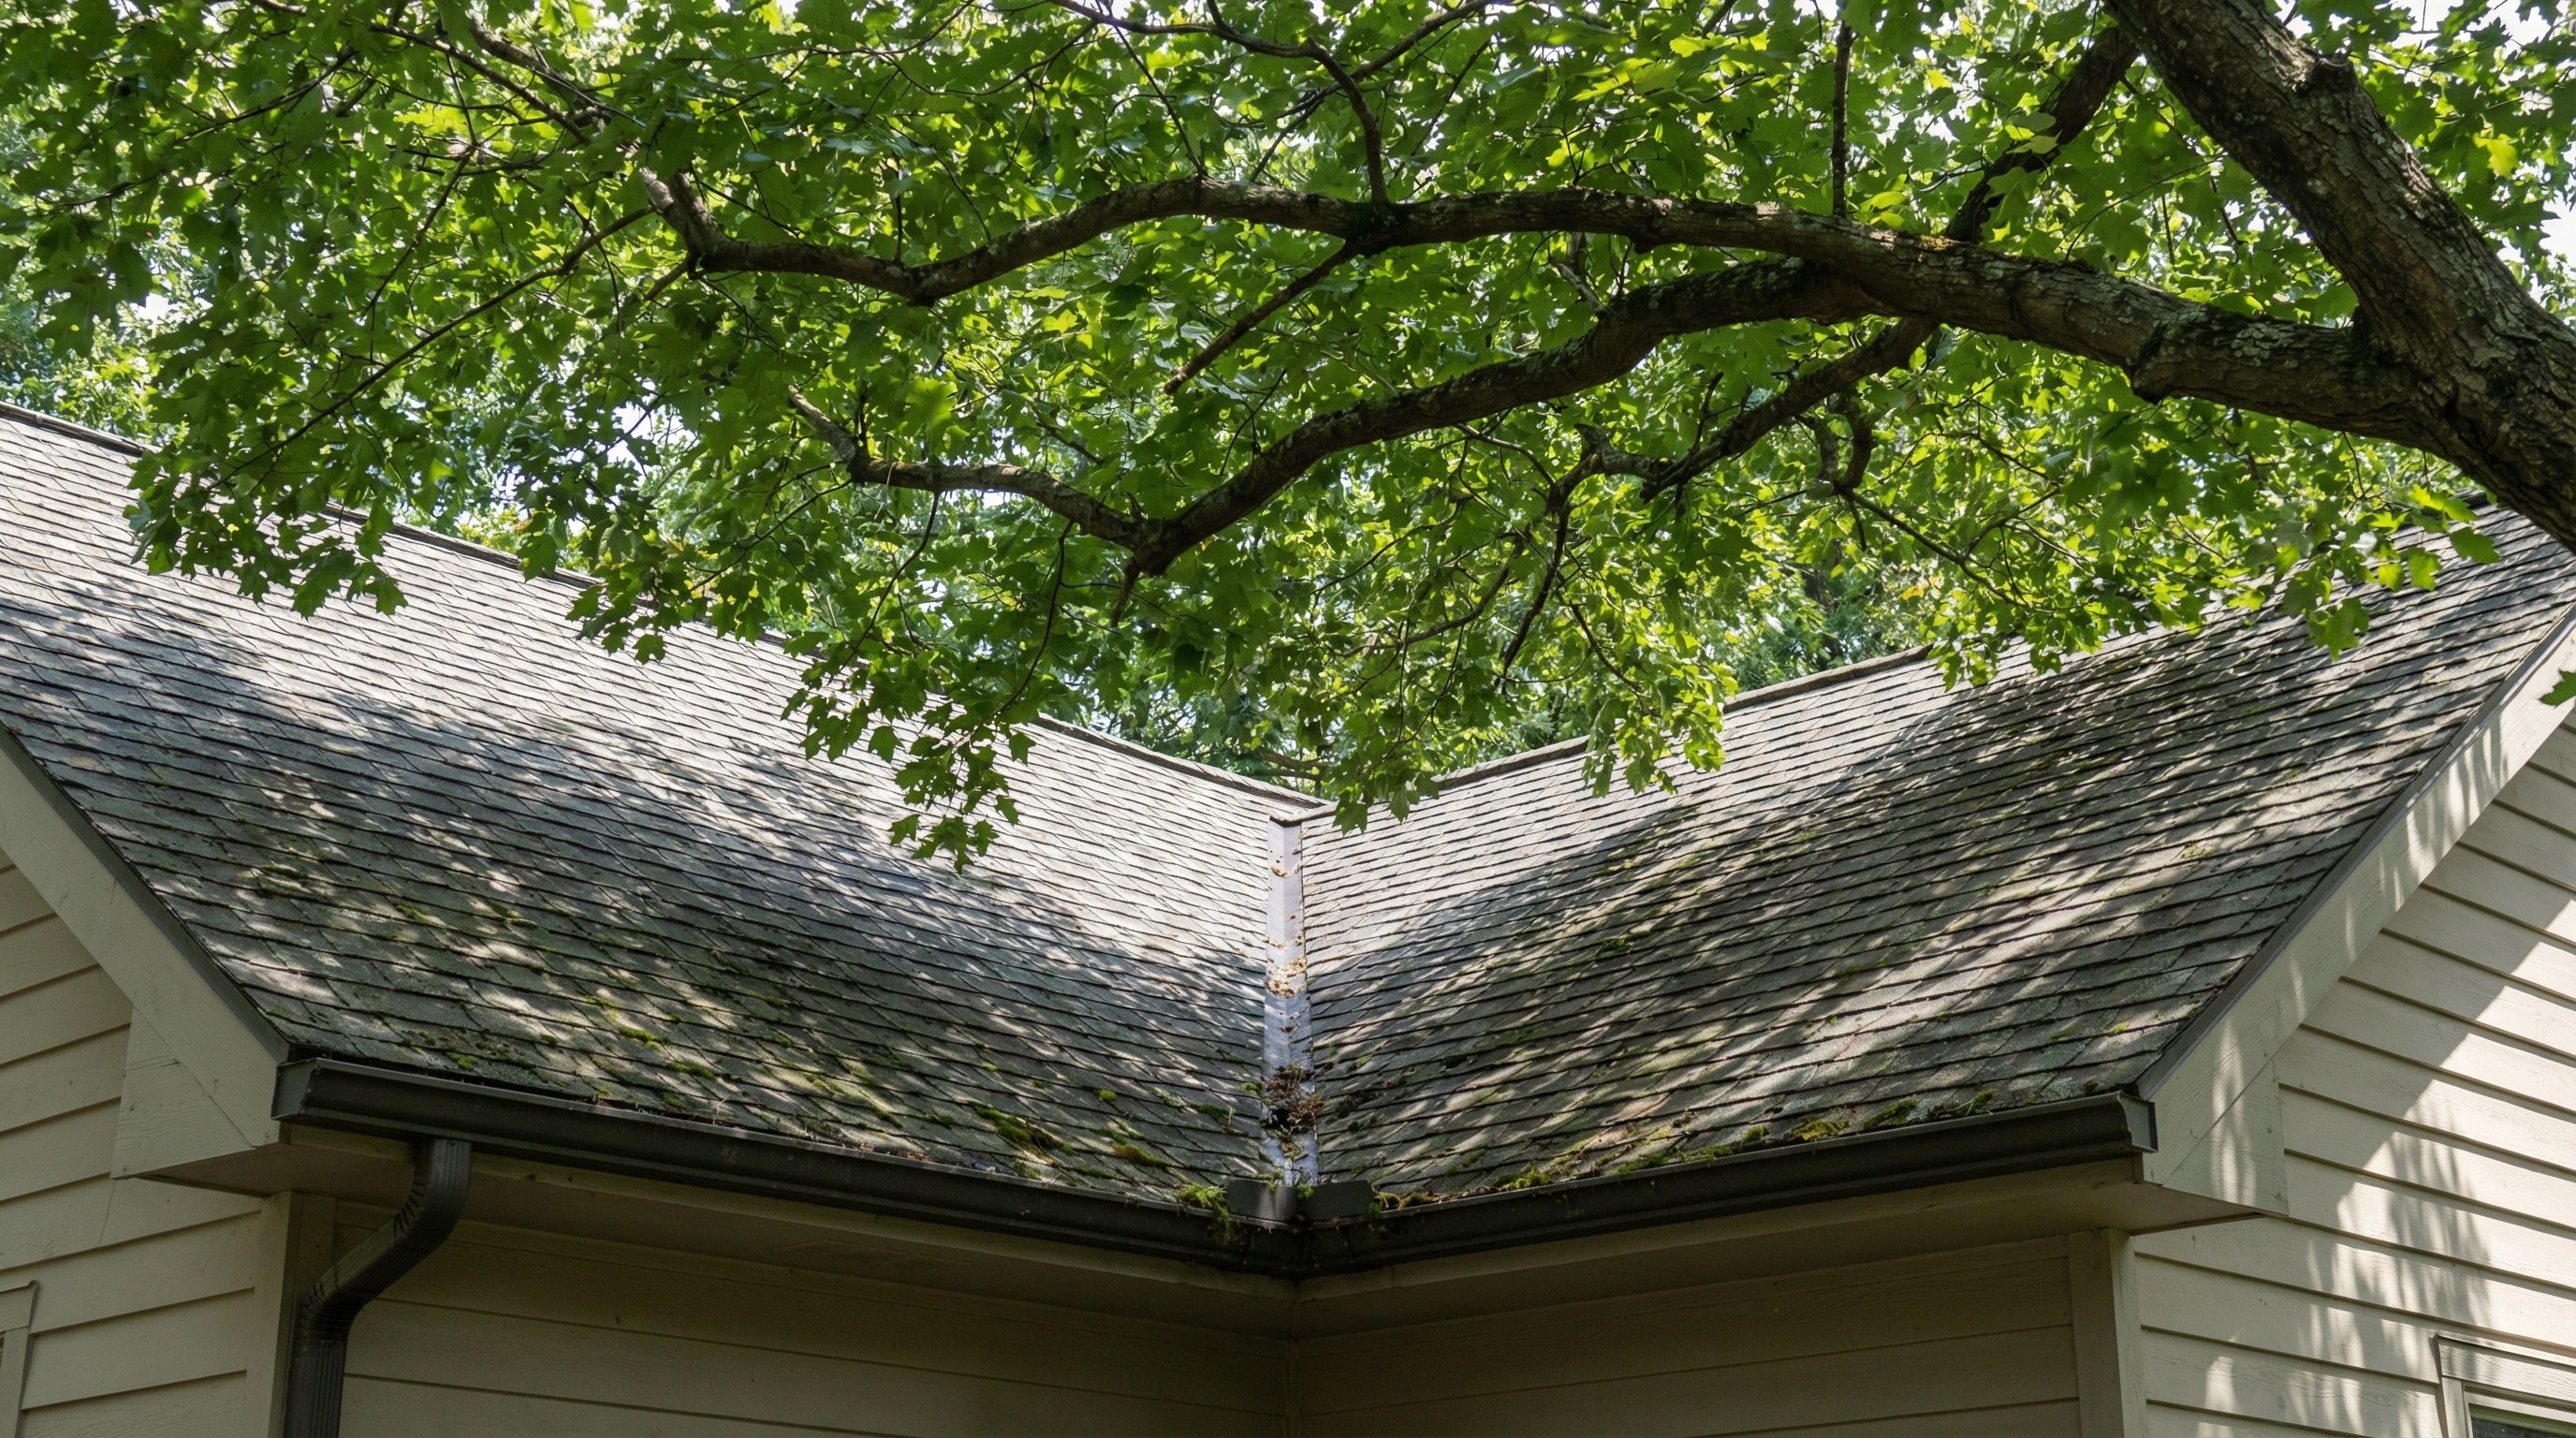
Trimming back overhanging branches allows more sunlight to reach the roof surface and speeds up drying time. As a bonus, fewer branches means less debris falling onto your roof.
Clean Gutters to Improve Roof Drainage
Clogged gutters cause water to back up along the roof edge, keeping that area wet for extended periods. Regular gutter cleaning, at least twice a year, helps water drain properly and reduces moisture buildup that encourages growth.
When to Hire a Professional for Asphalt Roof Cleaning
DIY roof cleaning works well for single-story homes with gentle slopes. But some situations call for professional help:
Steep roof pitch: Anything steeper than a 6:12 slope becomes genuinely dangerous without proper safety equipment
Two-story or higher homes: The ladder height alone creates significant fall risk
Heavy moss accumulation: Thick moss may require careful manual removal before cleaning, which takes experience to do without damaging shingles
Uncertainty about roof condition: If you're not sure whether your roof has underlying damage, a professional can assess while they clean
Protect Your Roof and Know When Cleaning Is Not Enough
Cleaning removes algae, moss, and surface stains. It can restore your roof's appearance and help extend its functional life. But cleaning won't fix shingles that are already damaged.
If you notice curling edges, cracked shingles, or large bare patches where granules have worn away, those are signs of wear that no amount of cleaning will reverse. Sometimes what looks like a cleaning problem is actually a roof approaching the end of its lifespan.
When you're unsure whether your roof needs cleaning, repair, or replacement, that's exactly where roofquotes.com can help. We connect you with vetted local roofers who will give you honest assessments and transparent pricing, so you can make the right decision for your home and budget.